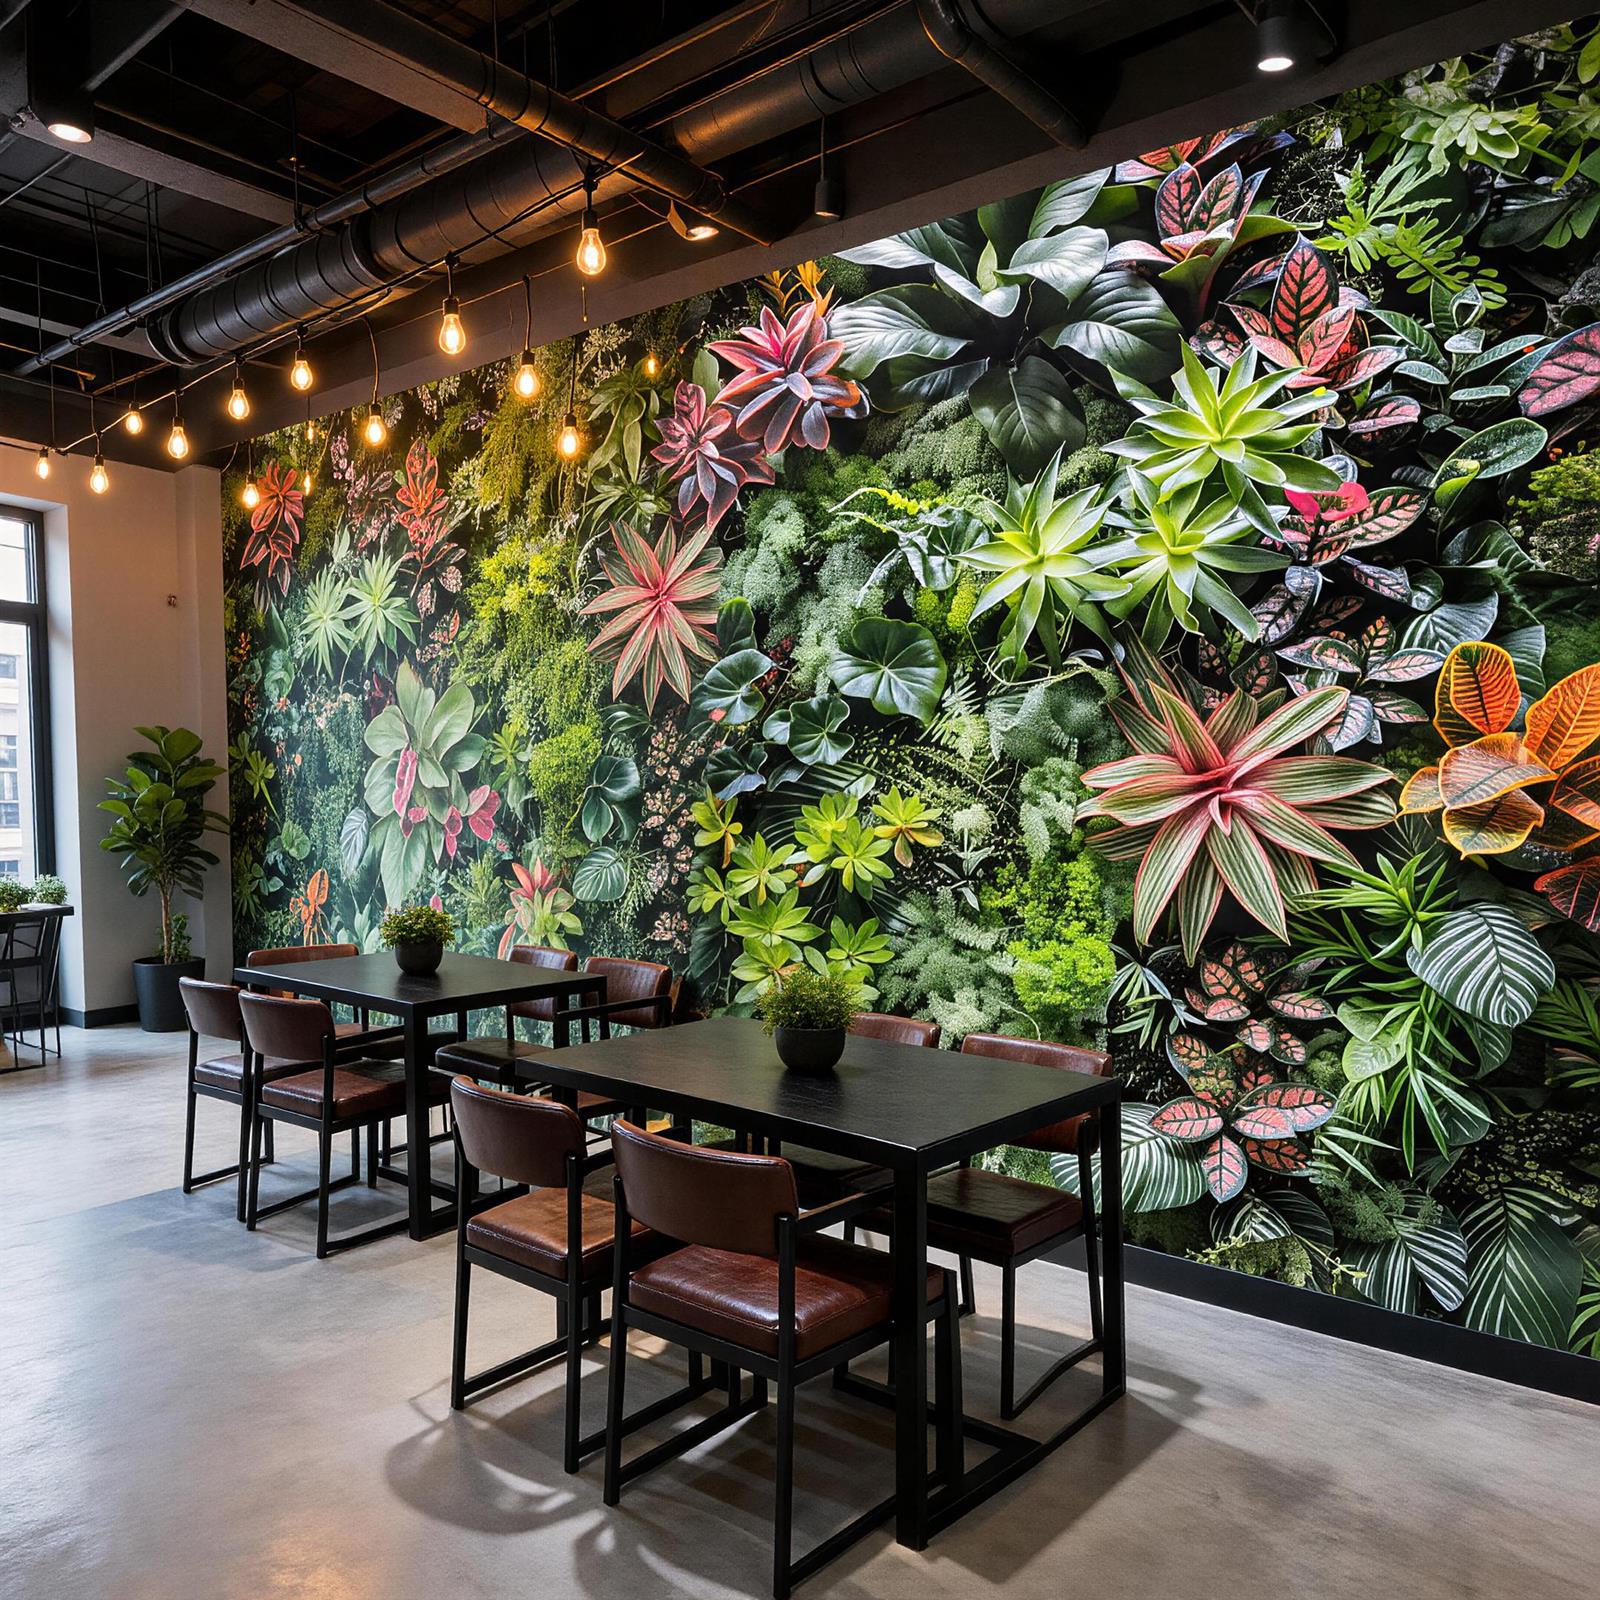
Quick answer: Measure the full height and the width of every uninterrupted wall section. Show corners, openings and changes in height on a simple elevation. Send a high-resolution artwork file or design reference with its intended real-world size, plus notes on bleed, colour and installation. Ask the supplier to confirm the final panel layout before production.
Custom wallcoverings are produced from two inputs: the design and the wall. A total area in square metres can help with budgeting, but it is not enough to manufacture a graphic that must align correctly around doors, corners, ceiling lines and adjoining walls.
The process becomes much more predictable when the information is organised in the same sequence a production team will use: identify the wall, measure its elevation, confirm the artwork scale, then resolve colour and material questions through a sample.
How to measure walls for custom wallcoverings
Start at each wall and work left to right. Use one unit consistently, normally metres or millimetres, and state the unit on the plan. A laser measure is useful for large rooms, while a tape measure remains practical for checking short returns, reveals and local obstructions.
- Photograph the complete wall. Take a straight-on photograph and a wider context photograph. Mark the wall name or room number so the supplier can match the image to the measurements.
- Measure the full wall height in several positions. Record the highest and lowest points where the ceiling or floor is not level. Do not average differences without noting them.
- Measure every uninterrupted width. Treat walls separated by a structural corner or full-height obstruction as separate sections. Record how the sections connect visually.
- Mark doors, windows and openings. Give the distance from the left edge of the wall to each opening, the opening width and its height from the finished floor.
- Mark permanent obstructions. Record sockets, switches, columns, pipe boxes, fire equipment, handrails and anything the installer will trim around.
- Check the substrate. State the existing wall surface, whether it is newly plastered, painted, tiled or prepared with a liner, and who is responsible for installation preparation.
- Create a simple wall schedule. Give every elevation an ID such as H-01 or R-03 and match it to the drawing, artwork file and installation sequence.
What a useful wall sketch should show
A hand sketch can be enough at the first enquiry. Draw the elevation as a rectangle, add the overall width and height, and mark each opening and obstruction with its dimensions and position. Note ceiling height variations and the direction in which the artwork should run.
For repeat rooms, send one clearly labelled room type and state how many rooms use the same design. If rooms differ, provide the range of heights and widths rather than assuming that one generic measurement covers every room. A hotel or apartment schedule may have many similar rooms, but construction tolerances can still affect joins and edge trims.
Dimensions versus area: why both matter
Area is useful for budgeting material and freight. Width and height determine the artwork composition, panel breaks, repeat position and wastage. Two walls with the same area can need different production layouts. A 2 m × 9 m corridor wall and a 6 m × 3 m feature wall are not interchangeable even though both measure 18 m².
| Information | What it controls | What can go wrong if omitted |
|---|---|---|
| Full height | Vertical scale and panel length | Cropped foreground, stretched motif or insufficient trim allowance |
| Each wall width | Horizontal composition and panel count | A design that does not meet a return or wraps a corner incorrectly |
| Opening positions | Visible artwork and waste calculation | A key part of the image lands behind a door or fixed joinery |
| Ceiling variation | Trim allowance and installation sequence | Short panels or visible gaps at the ceiling |
| Installation direction | Panel order and visual continuity | Adjacent panels printed or installed in the wrong sequence |
Send the elevation, not only the total area.
A marked elevation, straight-on photograph and overall dimensions let a production team check the design against the actual space before discussing price or sample direction.
Start with your project dimensionsCustom wallcovering artwork file requirements
File requirements vary by print process, material and supplier. Confirm the preferred format before investing time in a final production file. The following checklist covers the information that should accompany almost any custom wallcovering artwork.
1. Keep the highest-quality original
For photography, artwork and textured imagery, send the original high-resolution file rather than a screenshot or a reduced image exported for email. A 1080-pixel web image may look acceptable on a laptop, but it rarely contains enough detail for a full-height feature wall.
For logos, line art and type, vector artwork such as AI, EPS or PDF is generally more suitable because it remains sharp when enlarged. A flattened image may still be acceptable for some designs, but it should be assessed at final print size. Do not upscale a small file and assume that the detail has been restored.
2. State the intended physical size
Artwork may be supplied at 1:1 scale, at a stated ratio or with crop marks and final dimensions. Make the intended size explicit. State the finished width and height and identify the finished edge. If the artwork was designed at a different ratio from the wall, explain whether the design may be cropped, extended or repositioned; do not leave that decision to anonymous automatic fitting.
3. Include bleed and trim allowance
Walls are rarely perfectly square, and the installer may need material beyond the visible finish line. Ask the supplier how much bleed or trim allowance they require. A small extension around the perimeter can protect the design when the wall is not plumb, but the correct amount depends on the substrate, installation method and edge condition.
Do not place essential text or a critical logo close to an edge that may be trimmed. If a design continues around an internal or external corner, show the relationship between the two elevations and confirm how the image should wrap.
4. Package fonts and layers correctly
Embed used fonts or outline type where appropriate. Keep editable source files for the brand owner, but send a production-ready version with unnecessary layers removed. Name layers and artboards clearly, and remove old revisions that could be confused with the approved design.
5. Define colour references
Provide the intended colour mode, brand colour references and any areas that must remain neutral. A supplied RGB file can be converted for printing, but the printed result depends on material, ink and production conditions. Treat a screen preview as an indicator, not a final match.
For brand colours and critical tones, request a physical sample printed on the proposed material. Review it under representative lighting and label the approved sample with the project, artwork version and date. This reduces ambiguity if future production or maintenance orders are required.
6. Supply a file link and a contact sheet
Large artwork files are easier to review through a shared folder or file-transfer link. Protect the link with an expiry date if appropriate. Include a small contact sheet or preview that identifies the file name, artwork version, wall IDs and intended scale.
Common artwork and measurement mistakes
- Using square metres as the only measurement. It helps with cost planning but does not define the artwork layout.
- Cropping the hero subject without stating priority. Mark the area that must remain visible and the area that can be cropped or extended.
- Hiding openings in the total area. Show the opening locations; the installer still needs to work around them.
- Sending a low-resolution preview as the master file. Keep original photography and vector sources wherever possible.
- Approving colour from a monitor. Review the physical material and printed sample before bulk production.
- Changing files after sample approval without a version label. Use clear revision names and confirm which version is approved.
- Assuming a sample matches the final installation context. A small sample confirms print and material direction, but scale and room lighting should still be reviewed on a mock-up where the project warrants it.
Custom wallcovering brief checklist
- Project name, location, room or wall ID and required date
- Full wall width, height and a marked elevation for each wall
- Room count or repeat information when designs are reused
- Door, window, socket and obstruction positions
- Straight-on photographs for visual context
- Artwork source file or a clear design reference and intended physical size
- Bleed, trim and corner-wrap expectations
- Colour references and priority areas of the image
- Substrate, installation responsibility and any site constraints
- Required fire, cleaning or durability documentation, if applicable
A strong brief does not need to be perfect at the first email. It does need to make the unknowns visible. A supplier can then tell you what must be confirmed, what can be proposed and which decisions should wait for a sample.
Frequently asked questions
How do I measure an irregular wall?
Break the elevation into simple rectangles. Measure each rectangle and record its position relative to the wall edges. Add a photograph and note the location of any angled returns, bulkheads or ceiling changes. If available, a laser scan or installer survey is useful for complex geometry.
Should I subtract doors and windows from the area?
Show both the full elevation and the net visible area. The full dimensions help the supplier compose and align the artwork; the net area helps with budgeting. Leave the final wastage calculation to the supplier or installer.
What resolution does custom wallcovering artwork need?
Resolution should be assessed at the final print size and depends on the image and material. Send the highest-resolution source available rather than applying aggressive upscaling yourself. The supplier can advise whether the image is suitable and whether a different crop or sample test is needed.
Can the supplier create or edit the artwork?
Some suppliers can make production adjustments such as resizing, tiling or extending a background. Confirm the scope before work begins, especially for creative changes. The design owner should approve any change that affects composition, brand assets or colour.
PROJECT REVIEW
Send the wall elevations and design source.
Space Finishes produces custom wallcoverings from customer artwork and measured project dimensions. Share what is known now; the team can identify the remaining decisions before sampling.